
Introduction
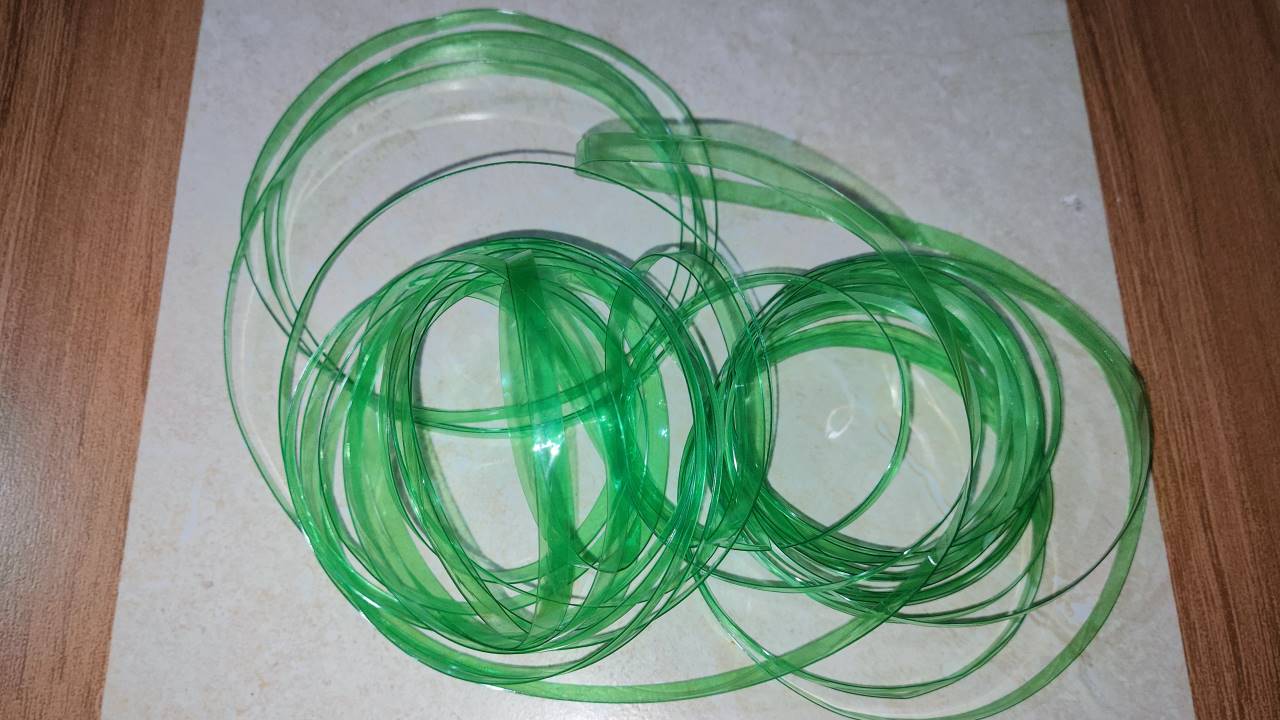
Recycling plastic bottles into useful items is a fantastic way to contribute to environmental conservation. One of the simplest and most versatile creations is a homemade plastic bottle strip cutter. These strips can be used for various purposes, such as gardening ties, craft projects, 3d printing filament or even as makeshift rope. Inspired by a YouTube video, I attempted to make my own strip cutter using a bottle cap and a paper cutter. After some trial and error, I discovered the perfect technique and angle needed to create long, consistent strips. In this blog, I'll share my step-by-step process and tips for success.
Materials Needed:
Plastic bottle
Bottle cap
Paper cutter / precision knife
Sharp knife or scissors
Marker
Ruler
Glue or adhesive tape (optional)
I have used precision knife but you can use a paper cutter too
Step-by-Step Guide:
Step 1: Prepare the Bottle Cap
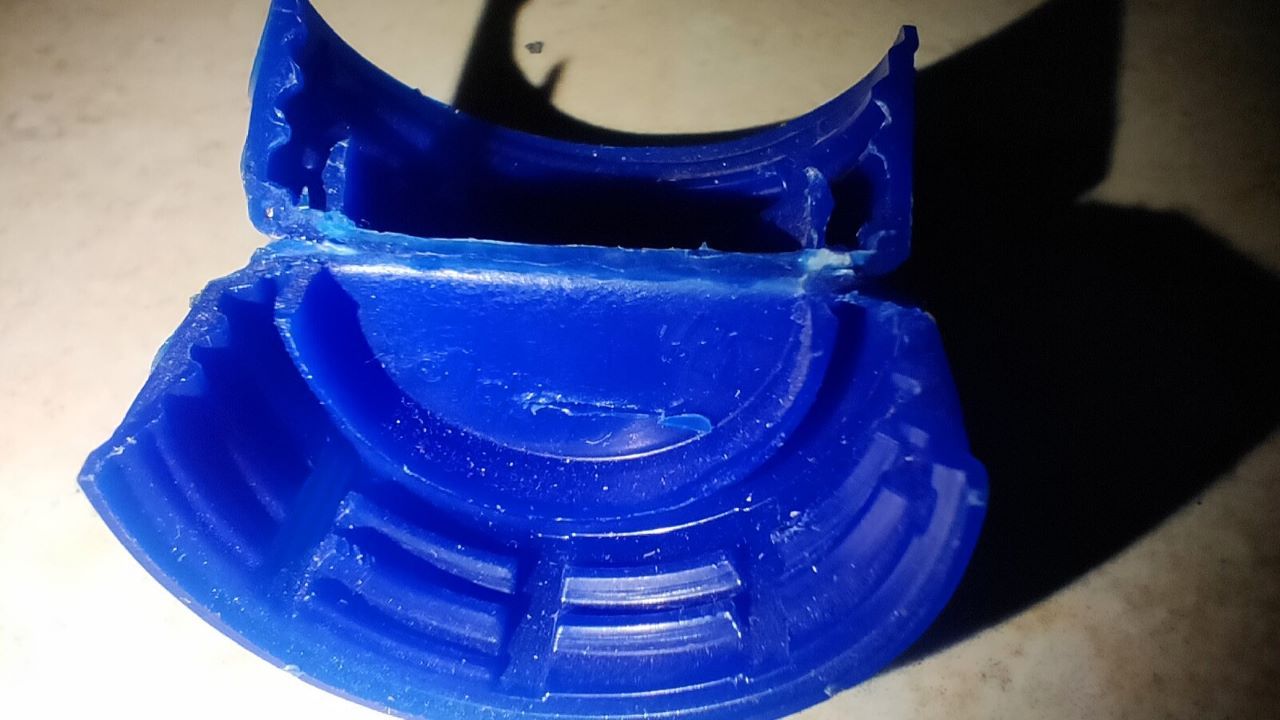
Mark the Cap: Use a marker to draw a line across the top of the bottle cap. This will be your guide for cutting.
Cut the Cap: Carefully use a sharp knife or scissors to cut along the marked line. The goal is to create a slit wide enough to fit the paper cutter blade through it.
Step 2: Attach the Paper Cutter Blade
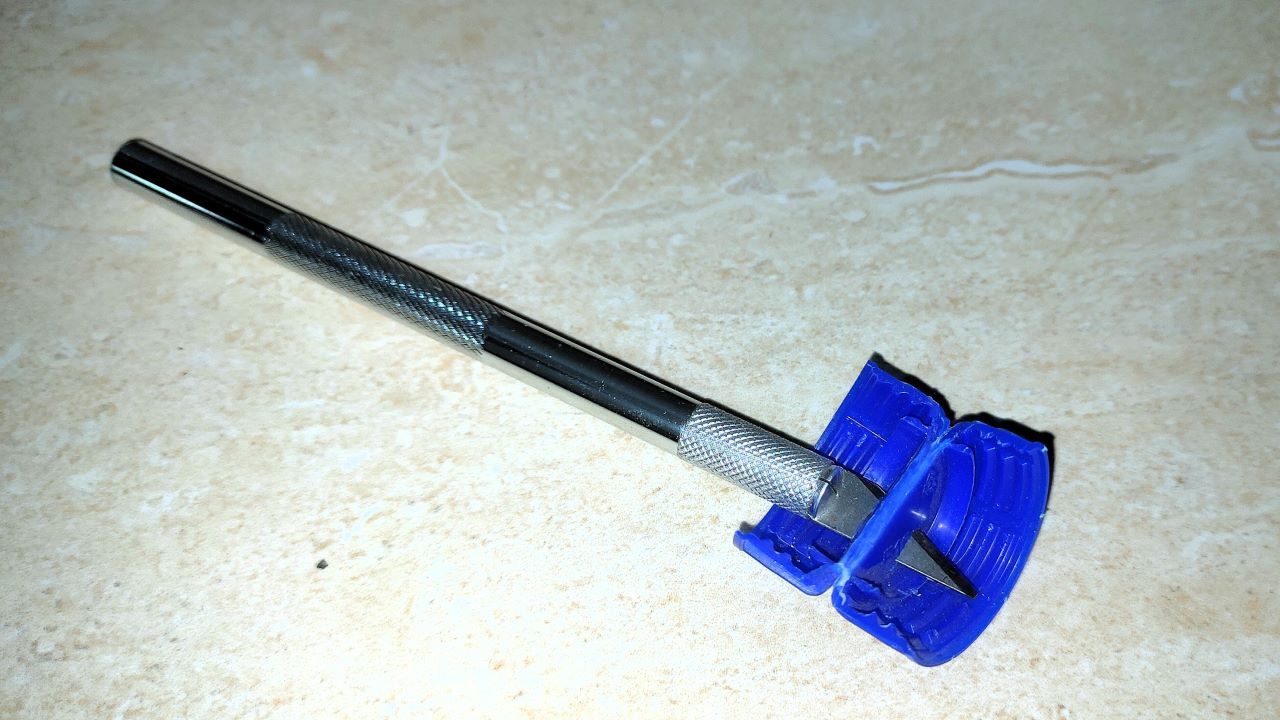
Position the Blade: Insert the paper cutter blade into the slit you made in the bottle cap. The blade should be slightly tilted, approximately at a 10° angle. This angle is crucial for creating a strip with the right grip.
Secure the Blade: You can use glue or adhesive tape to keep the blade in place if it feels loose. Ensure the blade is secure and stable.
Step 3: Cutting the Plastic Bottle
Cut the bottom: cut the bottom of the bottle evenly using a paper cutter
Initial Cut: Take your plastic bottle and make a small incision near the top to start the strip. This will give you an initial edge to pull.
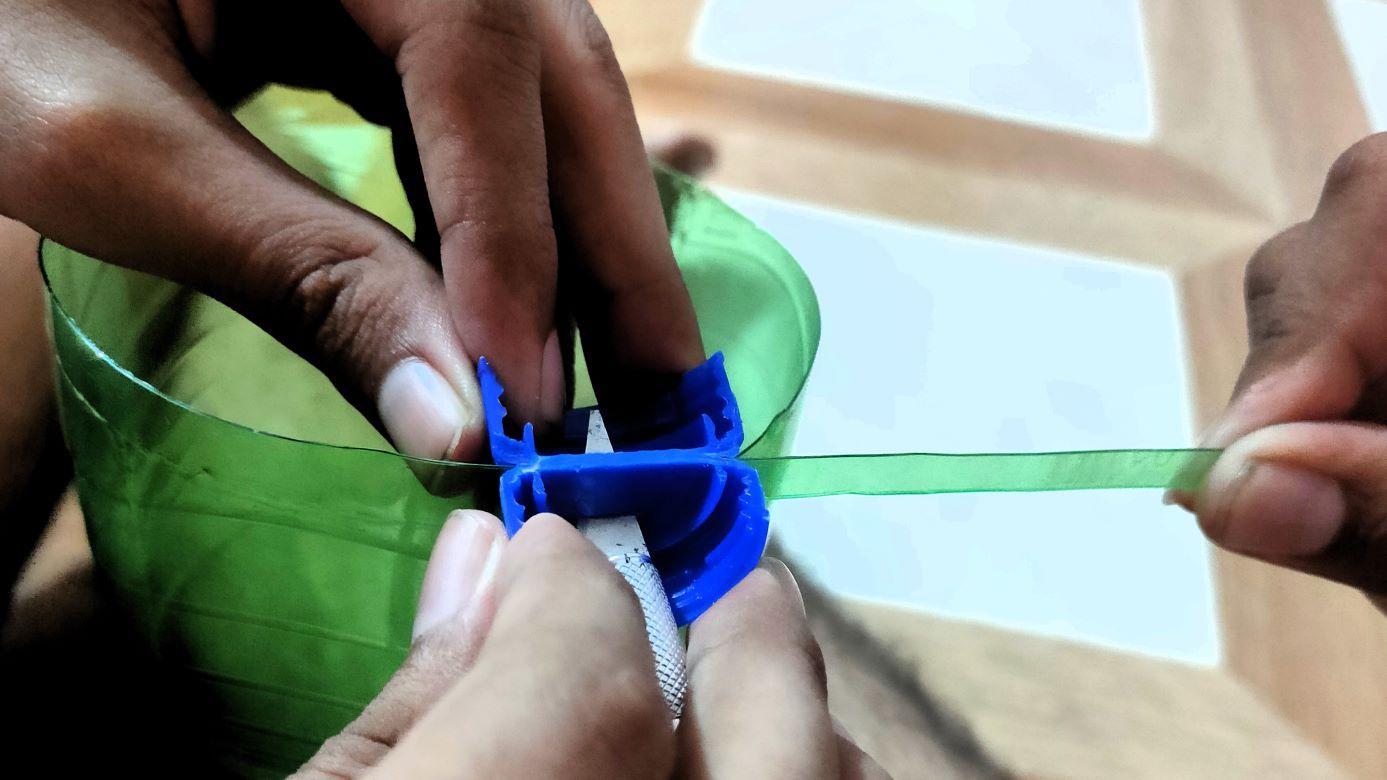
Insert the Bottle: Place the bottle cap cutter over the edge of the plastic bottle where you made the initial cut.
Start Pulling: Hold the bottle cutter in place and start pulling the plastic strip. Do not move the cutter; instead, pull the bottle away from the cutter. This method ensures a consistent strip.
Tips for Success:
Blade Angle: Maintaining the 10° angle is crucial. If the angle is too shallow (less than 10°), the strip will lose its grip, resulting in short and inconsistent strips. If the angle is too steep, the strip will be difficult to pull.
Consistent Pulling: Ensure you pull the strip steadily and consistently. Jerky movements can cause the strip to break or become uneven.
Blade Sharpness: A sharp blade is essential for clean cuts. Replace the blade if it becomes dull.
Conclusion
Making a DIY plastic bottle strip cutter using a bottle cap and a paper cutter is a simple yet effective way to recycle plastic bottles. By following the steps and tips outlined above, you can create long, consistent strips for various uses. Not only is this a fun and practical DIY project, but it also promotes environmental sustainability. Happy crafting!
Support
Thank you for reading! If you enjoyed this post and want to support my work, consider supporting me by subscribing to my newsletter or sharing this post with a friend.