
Upgrading your Ender 3 to a direct drive setup can significantly improve your 3D printing experience, especially when dealing with flexible filaments or wanting more consistent extrusion. This guide will walk you through the process step-by-step, ensuring you avoid common pitfalls like clogging.
Step 1: Print the Mount and X-Axis Spacer
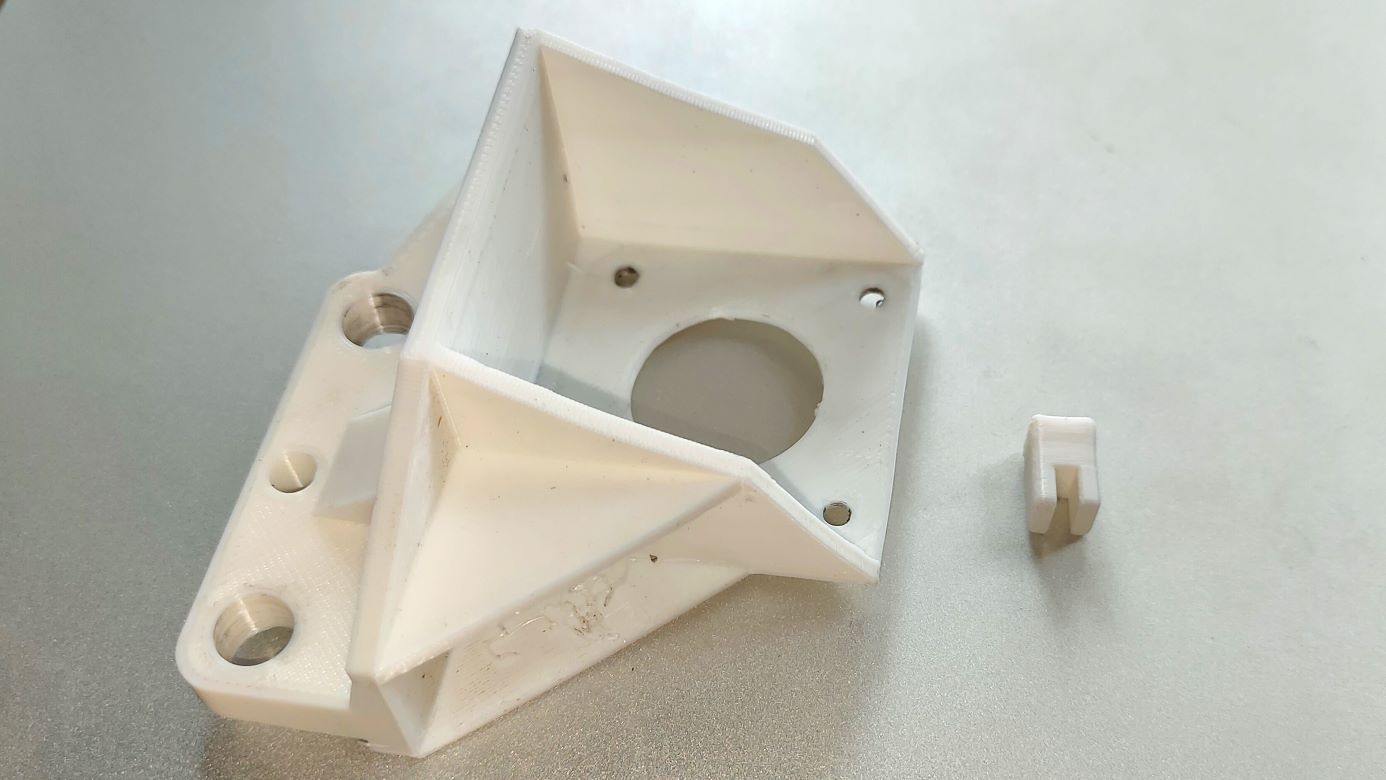
Before you begin the upgrade, you'll need to print a few parts:
Direct Drive Mount: This will hold your extruder directly on top of the hotend.
X-Axis Spacer: This spacer adjusts the X-axis belt tension and alignment to accommodate the new setup.
Download the stl files from here
Step 2: Remove the Extruder from its Original Mount
Power off and unplug your Ender 3.
Remove the filament from the extruder.
Unscrew the extruder from its original position on the frame.
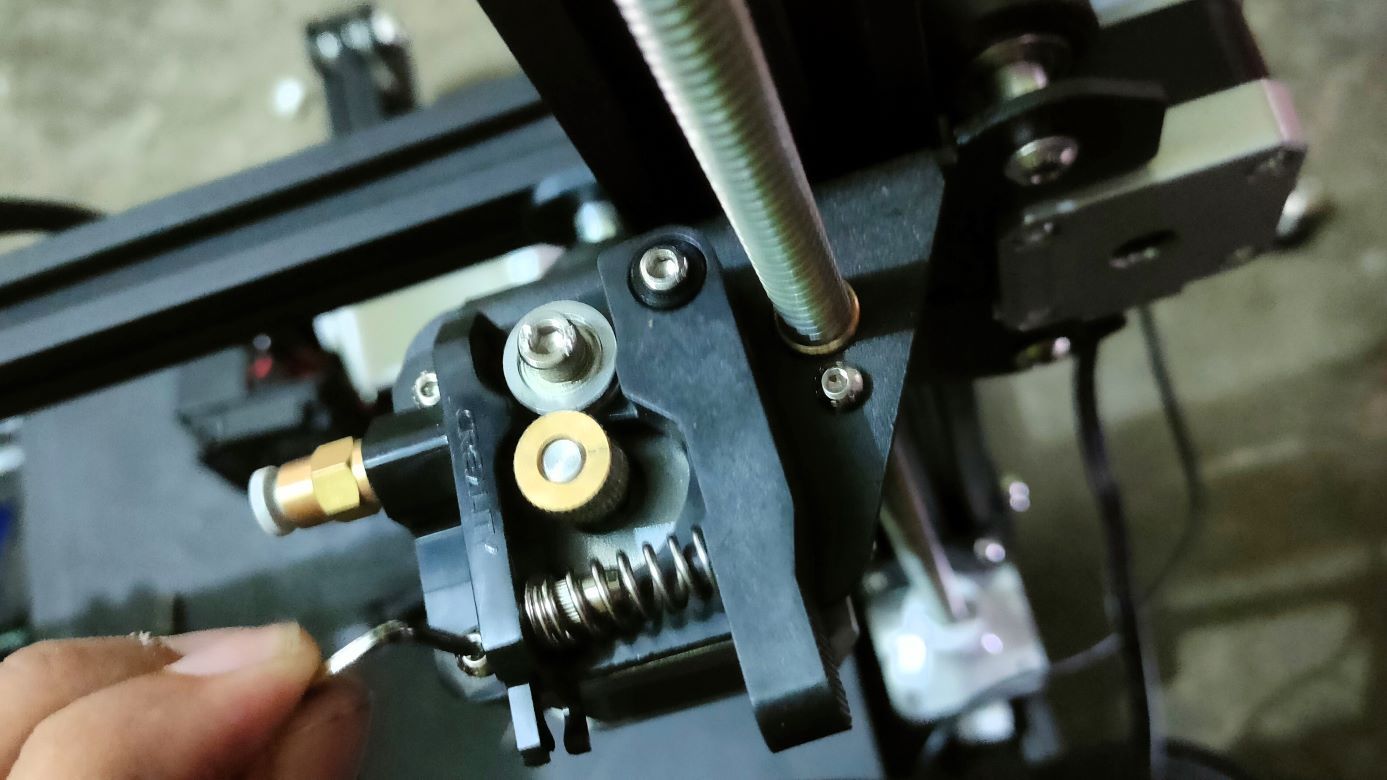
Step 3: Mount the Extruder on Top of the Heat Sink
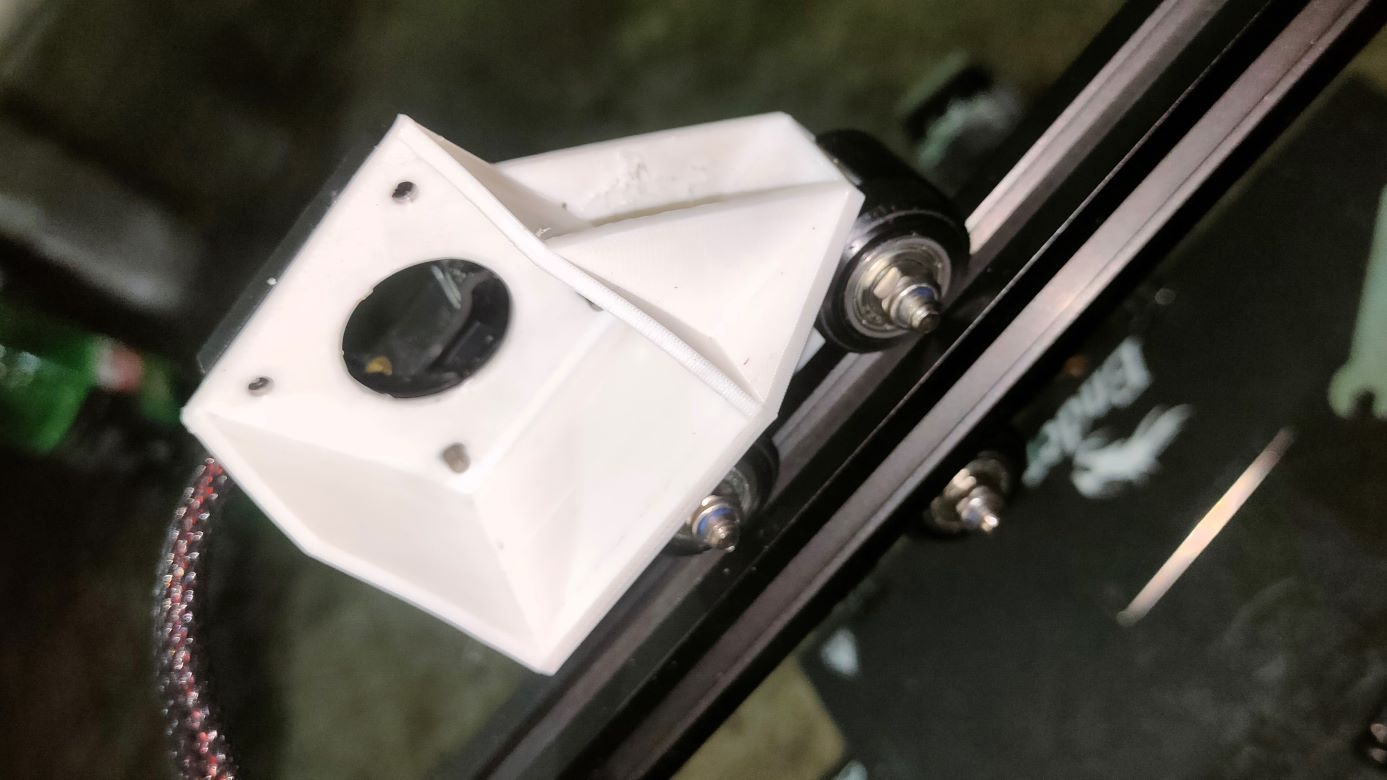
Using the 3D-printed mount, attach the extruder to the top of the heat sink. Ensure that it's securely fastened and aligned properly to avoid any misfeeding issues. Then, place the x-axis spacer so that it clicks the x-axis switch when you slide the extruder in x axis.
Step 4: Install the Bowden Tube for Direct Drive
One critical step in this upgrade is properly installing the Bowden tube. Initially, it might seem that the short distance between the extruder and the nozzle wouldn't require the tube. However, omitting this step can lead to continuous clogging in the heat sink.
Why the Bowden Tube is Important (clogging issue):
The Bowden tube guides the filament directly into the nozzle, reducing the chance of it buckling or jamming.
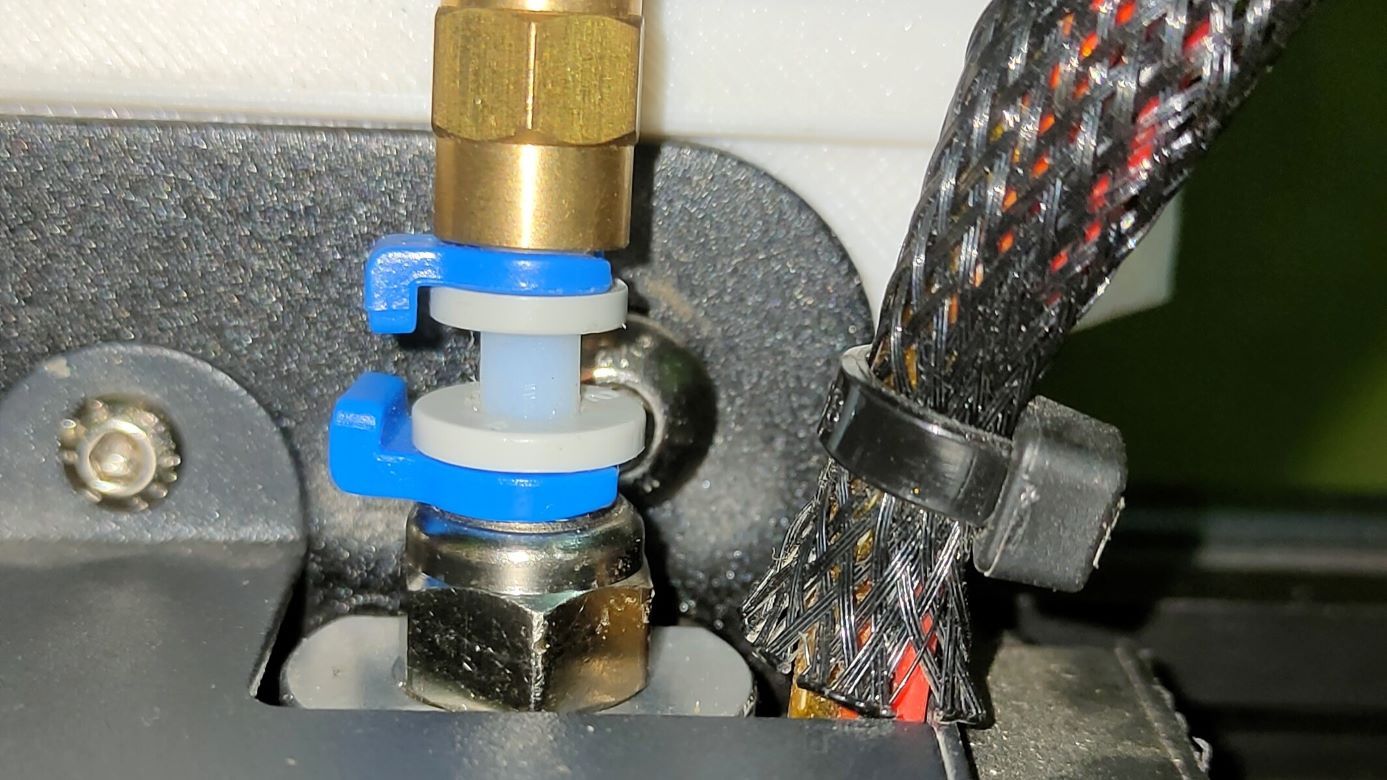
Make sure the tube is nice and tight to the nozzle
It ensures a smooth and consistent path for the filament, which is essential for preventing clogs.
How to Install the Bowden Tube:
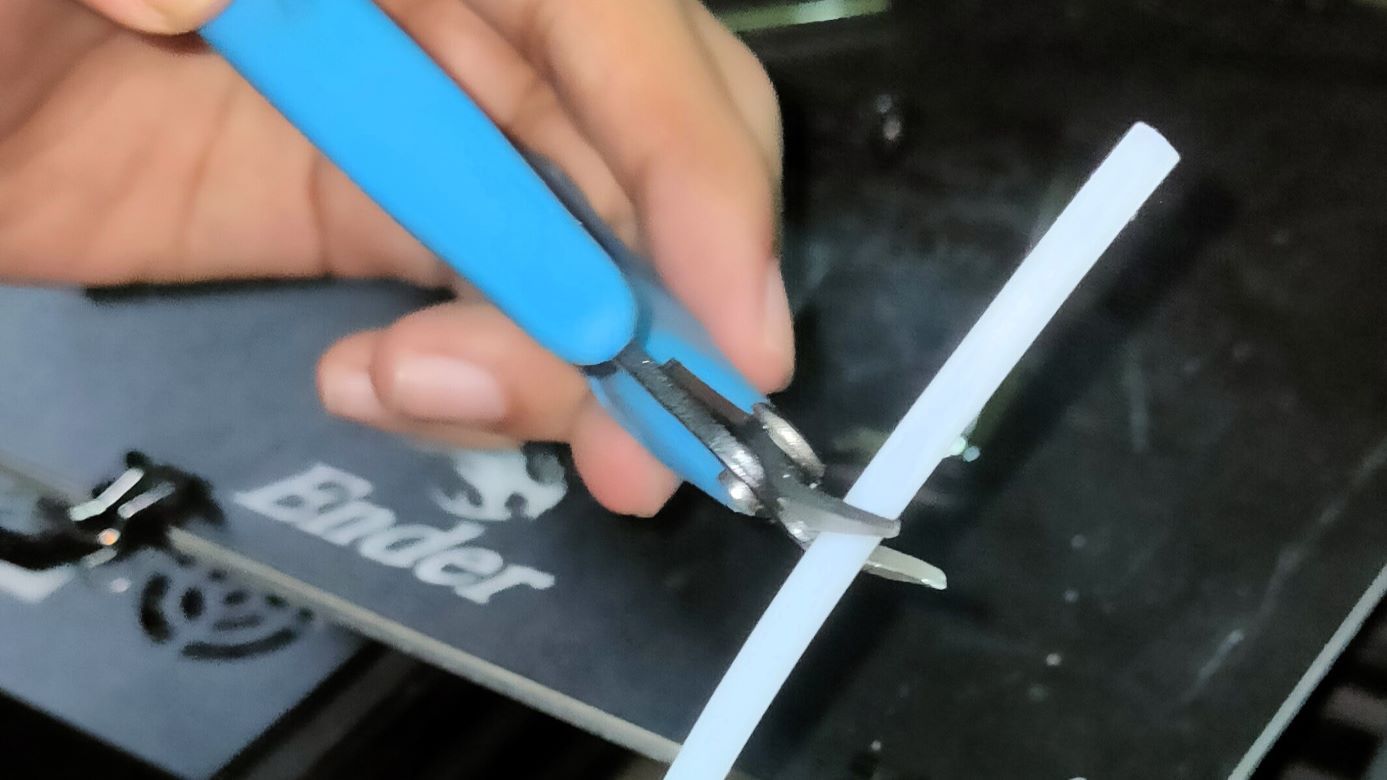
Cut the Bowden Tube to the Correct Length: Measure and cut the tube so that it fits perfectly from the extruder to the nozzle without any slack.
Insert the Bowden Tube into the Heat Sink: Make sure the tube is pushed all the way down to the nozzle. This helps maintain a tight seal and prevents filament from escaping into the heat sink area.
Secure the Tube: Use any retaining clips or fittings provided with your direct drive kit to ensure the Bowden tube stays in place.
Step 5: Final Adjustments and Checks
Check All Connections: Ensure that all screws, fittings, and connectors are secure.
Adjust the Tension: Make sure the X-axis belt tension is properly adjusted using the printed spacer.
Recalibrate Your Printer: After modifying your Ender 3, recalibrate the bed leveling and the extruder steps per millimeter (E-steps) to ensure accurate printing.
Ready to Print
With your direct drive setup installed and properly configured, you should notice improved print quality, especially with flexible filaments. You should also see a significant reduction in clogging issues, thanks to the correctly installed Bowden tube.
Also check out my 3d print gallery
Enjoy your upgraded Ender 3 and happy printing!
Support
Thank you for reading! If you enjoyed this post and want to support my work, consider supporting me by subscribing to my newsletter or sharing this post with a friend.